


Over the past few months we have been looking at ways to improve your home’s curb appeal, with tips such as using window boxes and wreaths, updating your doors and entryways and tidying up the exterior and garage. In this segment we'll discuss how renewing your paint job can drastically improve the look of your property.
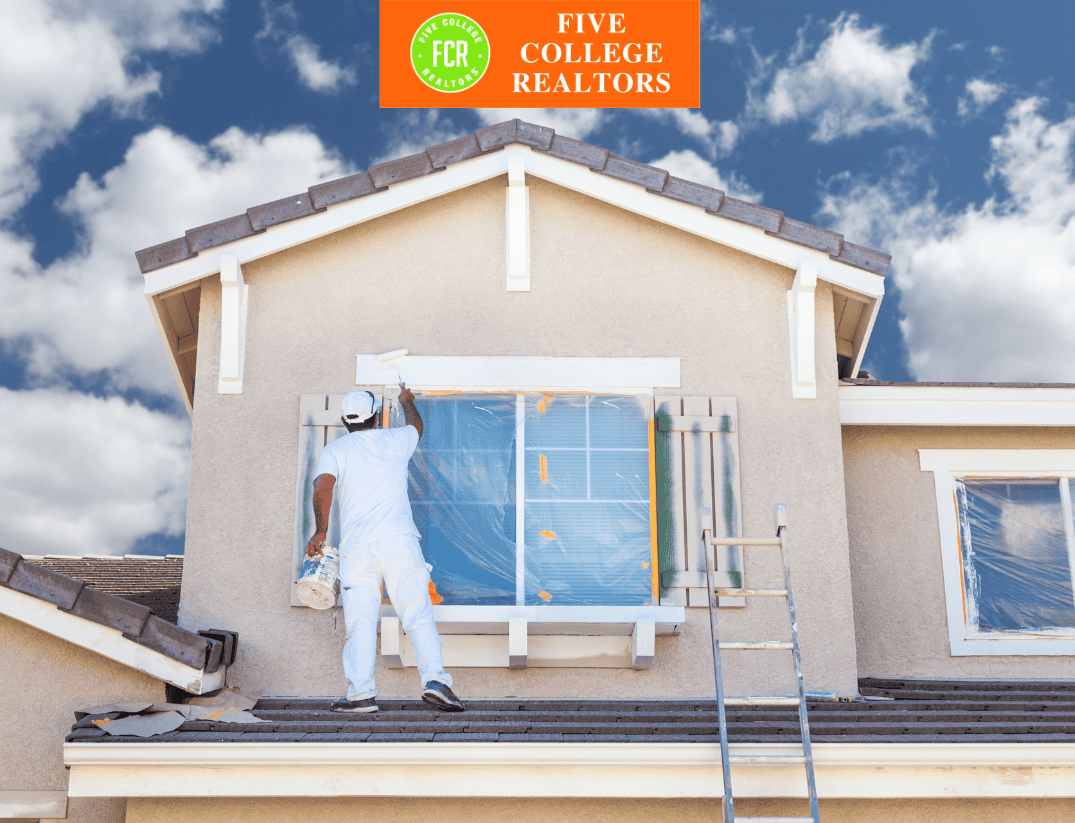
A fresh coat of paint can do wonders for your home, but if you’ve never confronted such a project before, you may not know where to start!
The first step is to decide on a color scheme that considers the landscaping and features of your home, and HOA regulations. For example, dark paint can darken properties surrounded by a lot of trees. And keep in mind that this will be the color of your home for a long time to come, so your decision is a long-term one!
Ask around for recommendations local painters, or if you decide to tackle the job yourself, here are some steps to consider:
· Follow established protocols, such as the Lead-Based Paint Hazard Reduction Act, in order to complete your project as safely as possible.
· Plan to prime and paint around the weather, during a warm and dry day (not too warm, or the paint will dry too fast) Around 50 degrees is ideal.
· Know the environment, and choose a paint that’s durable against your climate factors. There are specialty paints for the exterior of your home that are made for all kinds of weather: While oil-based paint will fade in the sunlight, latex paints, most recommended with a high vinyl content, are more durable in such weather. Acrylic resin is more durable as a binder for latex paints and will last longer outdoors.
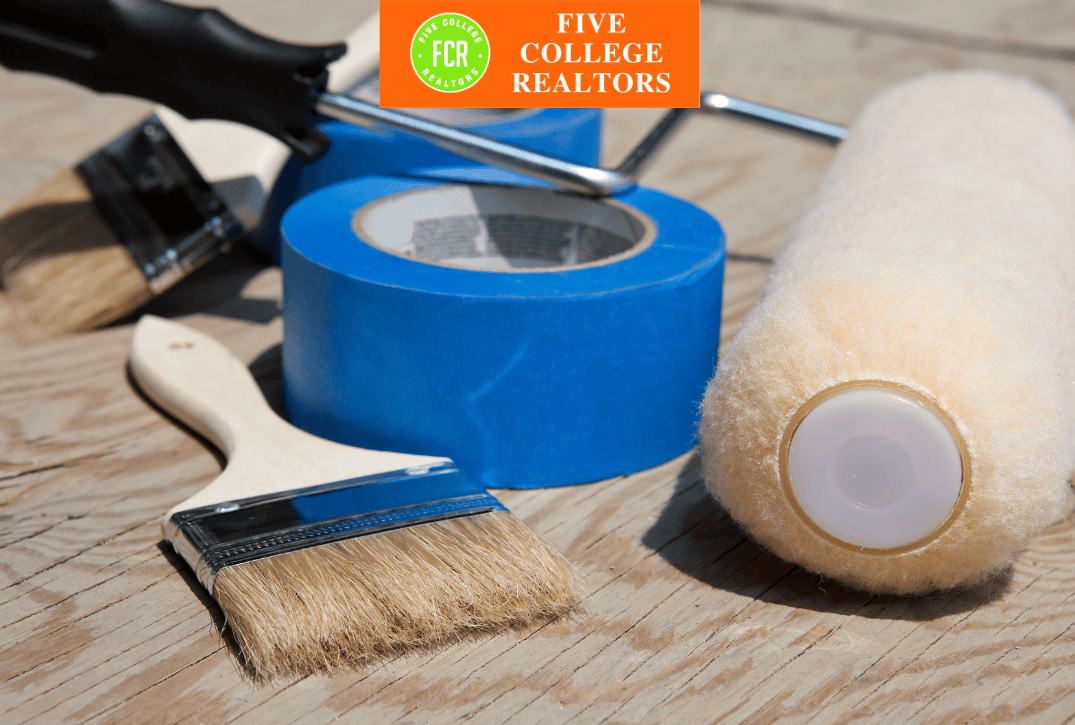
Useful Supplies:
· A couple of synthetic-brushes (specifically a 4-inch straight bristled brush and an angled sash brush)
· A heavy-duty roller cage with roller sleeve for painting shingles, stucco, or brick
· A 9-inch paint roller for flat surfaces
· A ladder
· Painter’s tape
· Rags and dish soap to clean messy spots
· Consider a paint sprayer for application (But take the time to prepare, as this tool is hard for first-timers and usually involves practice for perfection – to avoid the inevitable trial and error, you may want to hire an exterior paint company from the get-go)
Prep:
· Cover air conditioners and close surfaces with drop cloths or old sheets
· Mask windows and doors with painter’s tape
· Trim back close vegetation or secure with twine to not get in the way
· Sand, trim, replace, or scrape off dirty, rotting and peeling surfaces before painting for a clean outcome
Priming:
ALWAYS use a primer for exterior painting. Traditionally you should apply a sand and primer coat, but some brands have combined both into one product with longer-lasting results. Specifically prime over stains, bare wood, and building materials that have not been painted yet. Since a primer prepares the substrate and helps create an even-layered color for the topcoat, which provides the color and protects the underlying
material, re-painted areas don’t necessarily need to be primed unless you are making a big color change.
Can’t decide on which primer is best suited for your project? Here are a few examples to go off of:
- High-bond primers are extremely adhesive for especially glossy or other hard-to-stick-to materials like tile and laminate.
- Specialty primers are best for concrete and masonry, smooth or rusty metals, and peeling siding.
- All-purpose primers are designed for typical priming and stain-blocking, and available in both oil- and water-based formulas. These are best for pre-primed material like trim, windows and doors and siding.
- When it comes to exterior primers, water-based products are best for covering oil-based stains like tar.
- Oil-based primers, especially slow-drying ones that take days to solidify, are better than water-based primers at blocking tannins that create brown stains on. This is recommended for outdoor trim.
General painting tips:
- Start from the top to avoid streaking and remember to overlap sections to keep paint wet to avoid buckling.
- Dispose of paint properly. Such rules change locally, but be sure to bring it to an authorized collection site, and definitely do not pour it down the drain or onto the ground!
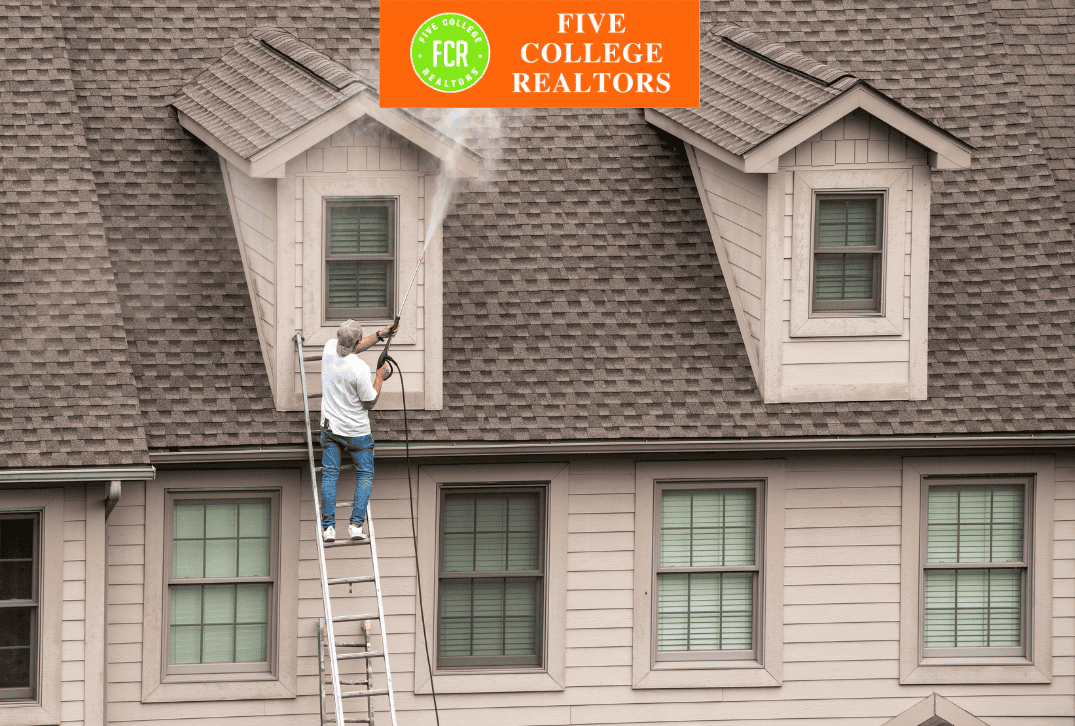
Last, but definitely not least, is to maintain your paint job. Once you’re done you’ll want to keep an eye out for any necessary maintenance that comes up, such as replacing painted surfaces that crack or blister and removing mold or mildew as they appear. Even more helpful to maintaining your paint: practice routine cleaning!
Six Tips for a Long-Lasting Paint Job:
1. Make repairs! You’ll lose time and money if you paint over damaged parts rather than fixing them beforehand.
2. Before painting, prepare the surfaces that are to be painted so they are clean, dry, dull, and sound.
3. THOROUGHLY prime trim and siding BEFORE installation. Making this a habitual practice will help yourself a bunch in the process of future painting.
4. Thoroughly mix the paint before use.
5. Flat or matte finishes look the best longest.
6. Follow the instructions on the paint cans for the most efficient results!
Keep an eye out for the final installment to this three-part feature on "Home Exterior: Improving What is Often Overlooked", where we will discuss a few more details that homeowners often miss: railings, gutters, and downspouts.